This post serves as a follow-up to the one that discussed how to export and import data from Oracle to MongoDB using a custom Java program and Spark connectors.
In this article, we will explore the same migration with the help of Databricks, a cloud-based data processing and analytics platform that is built on top of Apache Spark. It provides a unified workspace where users can create and run Spark clusters, and manage data and applications.
One of the key benefits of Databricks is its ability to scale processing resources up or down as needed. Users can provision Spark clusters with just a few clicks, and scale them automatically based on workload demands. This makes it easy to handle large-scale data processing tasks without worrying about infrastructure management.
Pre-requisite
- An Azure subscription: You will need an Azure subscription to create an Azure Databricks workspace.
- Oracle Database with Sakila Dataset as a Source & Atlas Cluster as Target : Use the earlier article to set this up.
We will explore the following topics in this article
- Creating an Azure Databricks workspace and subsequently using Azure Storage as DBFS.
- Start a Databricks Cluster and add customized libraries like Oracle and MongoDB Spark Connectors.
- Create a Notebook to develop and run code using the built-in editor, and then integrate GitHub with Databricks to source control the code.
- Finally, we will create a Workflow DAG using the Databricks Jobs feature, which allows you to schedule and run complex workflows in a managed and scalable manner.
Workspace
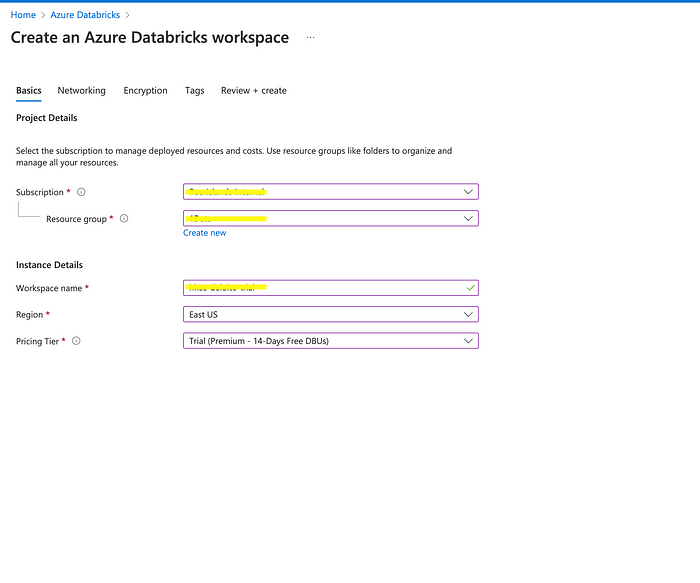
In the “Basics” tab of the “Create Azure Databricks” page, fill in the following details:
- Subscription: Choose the subscription you want to use.
- Resource group: Choose an existing resource group or create a new one.
- Workspace name: Enter a name for your workspace.
- Region: Choose the region you want to deploy your workspace in.
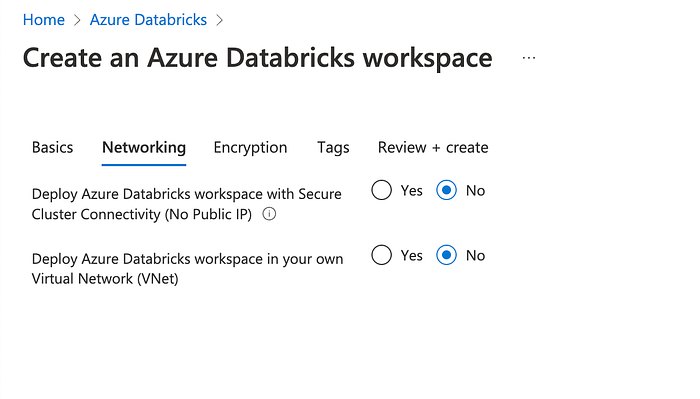
Optionally, in the “Networking” tab, based on your requirements, choose Virtual Network and a public IP address for your workspace. We will live with the default settings for this article.
Review the details you entered and click on the “Create” button to create your Azure Databricks workspace.
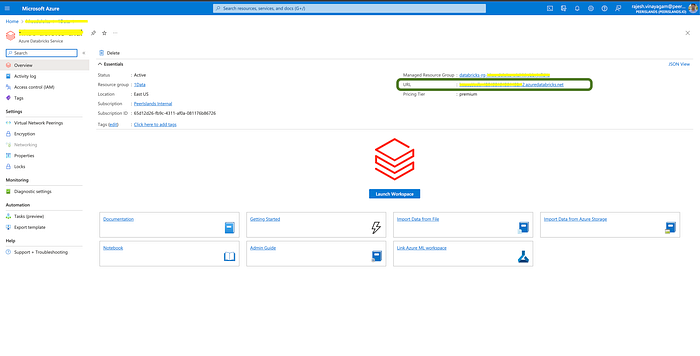
You can access your workspace after it has been created by using the URL highlighted above. You can bookmark this URL for easier access.
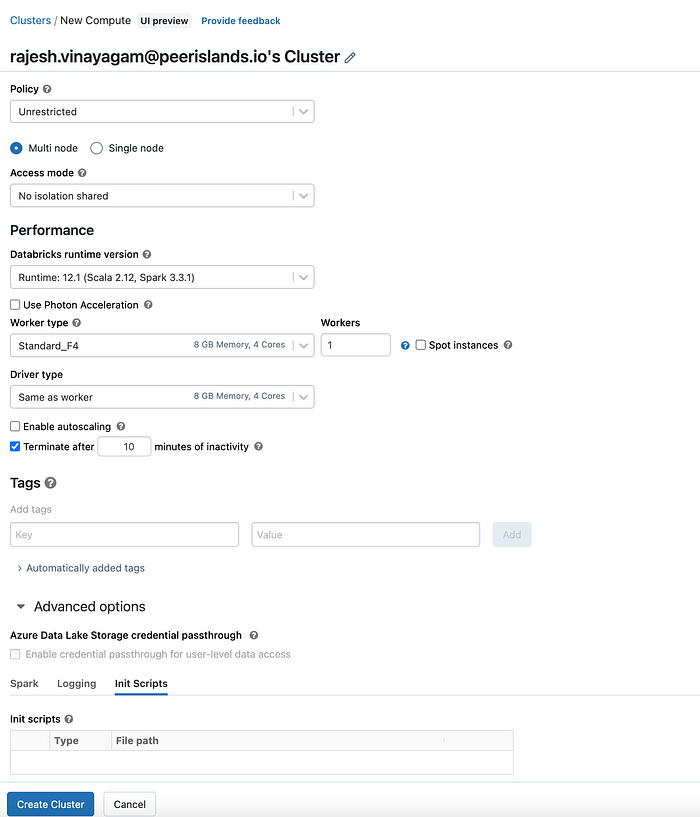
Cluster
To create a cluster within an Azure Databricks workspace, follow these steps
- Goto the “Compute” Menu from the sidebar menu and select “Create Compute” button.
- Fill in the details for your cluster:
- Cluster Mode: Choose the mode you want to run your cluster in. Options include MultiNode and Single Node.
- Databricks Runtime Version: Choose the version of Databricks runtime you want to use.
- Autoscaling: Choose whether you want your cluster to automatically scale up or down based on workload. This would require you to set the Min & Max workers
- Driver & Worker Type: Choose the type of Driver & Worker nodes you want to use and if autoscaling is not enabled choose the number of worker nodes you want to use.
For this article, we built a multi-node cluster with one driver and one worker node with unrestricted policy and access mode.
Once your cluster is created, we can start running notebooks and jobs on it. Often times, we will require custom libraries to be installed in the cluster.
In the next section, we will install the required libraries for this article.
Custom Libraries in Cluster
We need to add Oracle and MongoDB Spark Connector libraries to the cluster. To install custom libraries in a Databricks cluster, follow these steps:
- Open the cluster that you want to install the library on.
- Click on the “Libraries” tab & Click the “Install New” button in the top right corner of the page.
- Choose the library source that you want to install from. You can choose to install from Maven coordinates, PyPI packages, or from a custom library uploaded to a private S3 bucket.
- Enter the coordinates for the library you want to install & Click the “Install Library” button to start the installation.
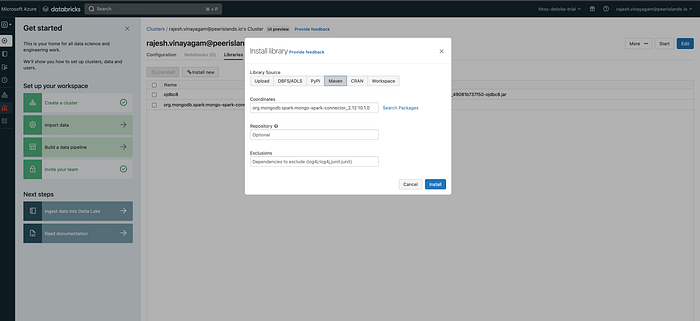
Wait for the library to be installed. This may take a few minutes, depending on the size of the library. Once the library is installed, it will be available for use in your notebooks or jobs.
For installing the Oracle connector, download the required jar from here. The version and compatibility need to be considered when installing the Oracle connector. Select the upload option from the tab and select the JAR file you want to upload and install.
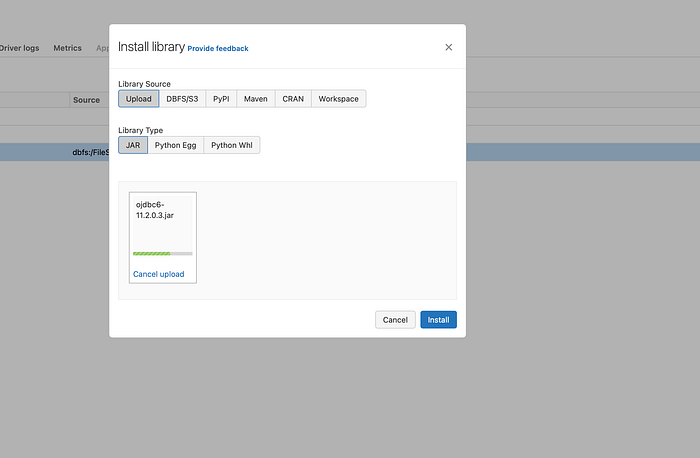
Note that you may need to restart your cluster for the library to be fully installed and available.
DBFS
DBFS (Databricks File System) is a distributed file system that is used in Databricks to store and manage large amounts of data. DBFS provides a unified interface for accessing different types of data sources, such as cloud storage services or the Hadoop Distributed File System (HDFS), from within Databricks.
Some key features of DBFS include:
- Integration with cloud storage services: DBFS can be used to access data stored in cloud storage services like Amazon S3, Azure Blob Storage, and Google Cloud Storage.
- Access control: DBFS allows you to set access controls on files and directories to restrict access to authorized users.
- Integration with Spark: DBFS is tightly integrated with Apache Spark, allowing you to read and write data using Spark APIs.
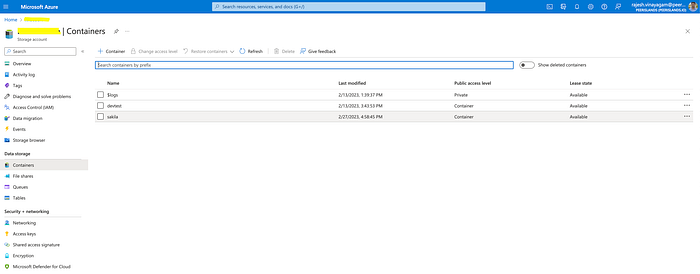
Azure Storage Account as DBFS
One way to use DBFS with an Azure storage account is to mount the storage account to your Databricks workspace. This allows you to access the data stored in the storage account as if it were part of the DBFS file system. To mount an Azure Storage account in Databricks, you can use the Databricks CLI or the Databricks UI.
To configure the authentication and access settings for your Azure storage account in Databricks before writing to the storage account, you can follow these steps:
Storage Account in Azure
On the “Create storage account” page, select your subscription, resource group, and region where you want to create the storage account. Then, give the storage account a unique name.
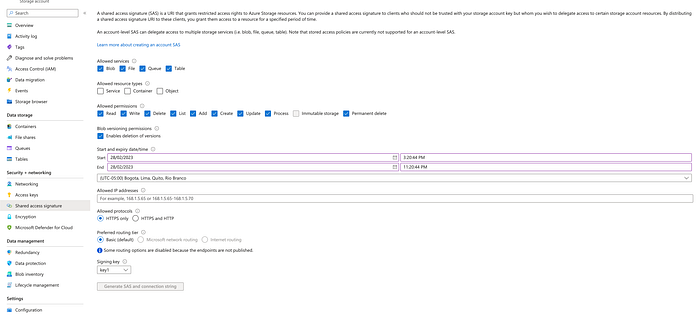
Generate a Shared Access Signature (SAS) Token
Create a Shared Access Signature (SAS) token for the storage account that grants the required permissions to read and write data. This token is essentially a URL with a query string that specifies the permissions and expiration time for the token. You can generate a SAS token in the Azure portal by navigating to the storage account and selecting “Shared access signature” from the menu.
Access the Storage Account in Databricks
spark.conf.set("fs.azure.account.auth.type.hhscdeloite.dfs.core.windows.net", "SAS")
spark.conf.set("fs.azure.sas.token.provider.type.hhscdeloite.dfs.core.windows.net", "org.apache.hadoop.fs.azurebfs.sas.FixedSASTokenProvider")
spark.conf.set("fs.azure.sas.fixed.token.hhscdeloite.dfs.core.windows.net", "REPLCE WITH SASTOKEN")
This line sets the SAS token for the Azure Storage account. The SAS token includes information such as the version of the Azure Storage service, the permissions allowed, and the expiration date and time of the token.
By setting these configurations, Spark will be able to access and read/write data to the specified Azure Storage account.
Test Reading Data from Azure Storage Account
Sample code to read a CSV file from an Azure Storage account using the ABFSS (Azure Blob File System Service) protocol in Databricks
val sampleDf = spark.read.format("csv")
  .option("header", "true")
  .option("inferSchema", "true")
  .load("abfss://containerName@storageAccountName.dfs.core.windows.net/test.csv")
Development Life Cycle : Git Integration
Integration of Git with Databricks allows you to version control and collaborate on your Databricks notebooks, libraries, and other artifacts with your team. Here are the steps to integrate Git with Databricks:
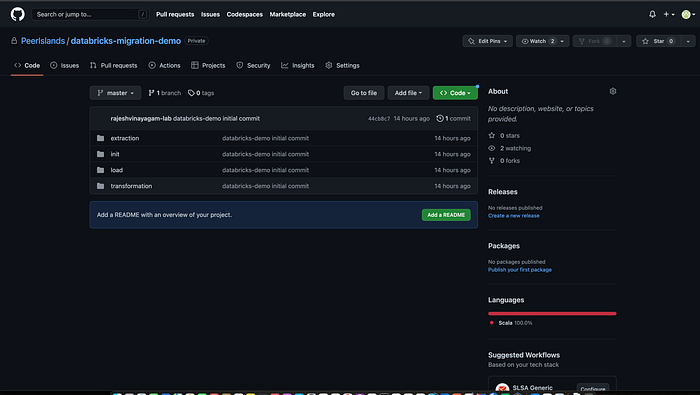
- Set up a Git repository: Create a Git repository that you will use to store your Databricks notebooks and artifacts.
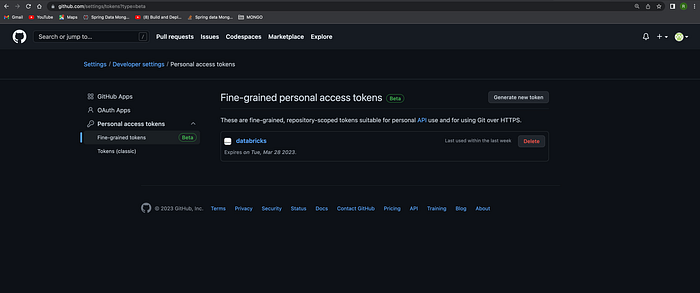
- Generate a personal access token (PAT): To access your Git repository from Databricks, you will need to generate a personal access token (PAT) with the appropriate permissions to read and write to your repository.
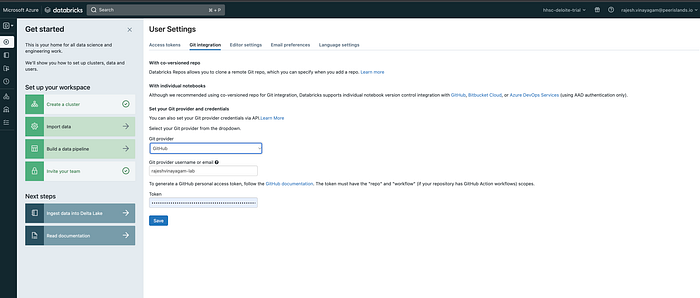
- Configure Git integration in Databricks: In the Databricks workspace, go to the User Settings dropdown menu and select “Git Integrations.” Then, click on “Add Git integration” and follow the prompts to enter your Git provider, username and token.
Clone your repository in Databricks: Once you have configured Git integration, you can click “Add Repo” to bring up a dialog where you can select your Git repository and the branch you want to clone.
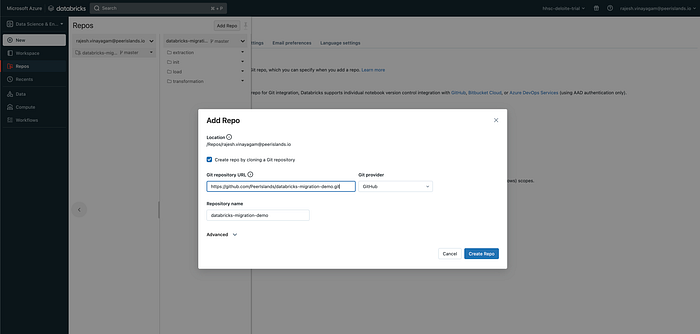
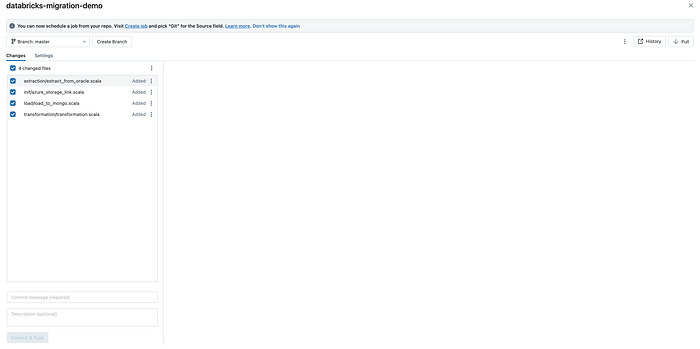
- Push changes to Git: Once you have made changes to your Databricks notebooks or artifacts, you can push them to your Git repository by using the Git command line interface (CLI) in the Databricks workspace or by using the Git client of your choice.
You can integrate Git with Databricks to version control your notebooks and artifacts, making it easier to collaborate with your team and manage your development lifecycle.
Implementation : Notebook/Code
In the Databricks workspace, create a new notebook by selecting “Workspace” from the sidebar menu and clicking “Create Notebook”. Give the notebook a name and choose a programming language (e.g., Python, Scala, R, SQL).
For this article, we will create three notebooks, and we will use Scala as the programming language. You can use the built-in editor to write and run your code. Later checkin the code to GitHub following the steps mentioned earlier
Extraction
Using the Oracle Spark Connector to extract data from three related Oracle tables and store it in Blob as parquet. Write the below code snippet in an extract notebook.
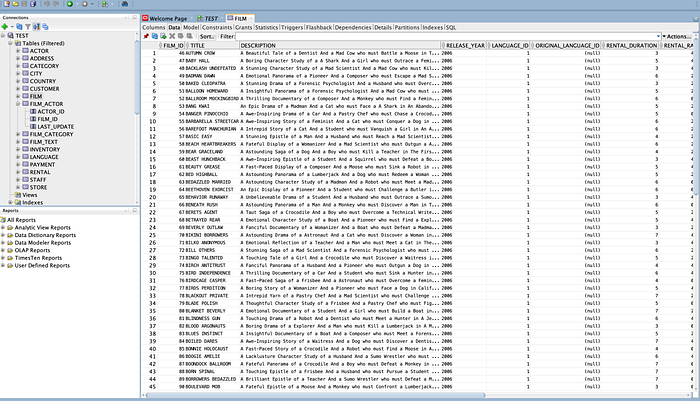
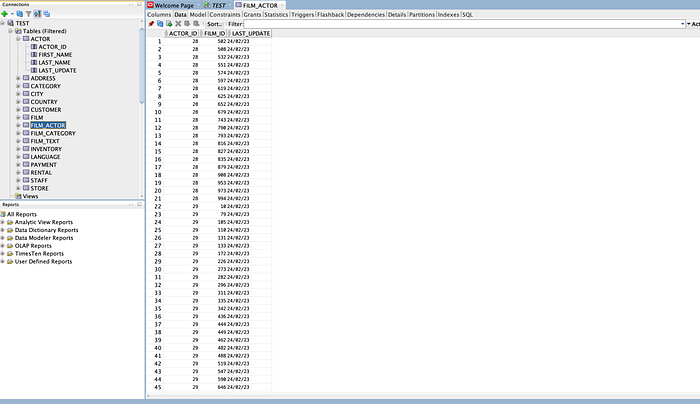
Film Source
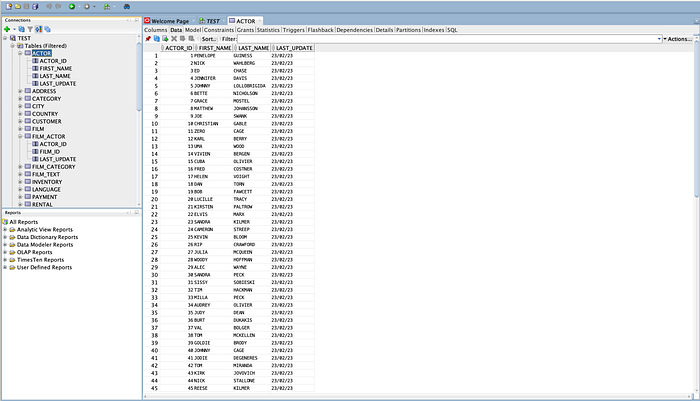
Actor Source
Film_Actor Source
// Extract from actor table and store as parquet

val actor = spark.read
    .format("jdbc")
    .option("url", "jdbc:oracle:thin:@instanceName.us-east-2.rds.amazonaws.com:1521:DATABASE")
    .option("dbtable", "actor")
    .option("user", "userName")
    .option("password", "password")
    .option("driver", "oracle.jdbc.driver.OracleDriver")
    .load()

actor.write.parquet("abfss://sakila@storageAccountName.dfs.core.windows.net/extracts/actor")

// Extract from film table and store as parquet

val film = spark.read
    .format("jdbc")
    .option("url", "jdbc:oracle:thin:@instanceName.us-east-2.rds.amazonaws.com:1521:DATABASE")
    .option("dbtable", "film")
    .option("user", "userName")
    .option("password", "password")
    .option("driver", "oracle.jdbc.driver.OracleDriver")
    .load()

film.write.parquet("abfss://sakila@storageAccountName.dfs.core.windows.net/extracts/film")

// Extract from filmActor table and store as parquet

val filmActor = spark.read
    .format("jdbc")
    .option("url", "jdbc:oracle:thin:@instanceName.us-east-2.rds.amazonaws.com:1521:DATABASE")
    .option("dbtable", "film_actor")
    .option("user", "userName")
    .option("password", "password")
    .option("driver", "oracle.jdbc.driver.OracleDriver")
    .load()

filmActor.write.parquet("abfss://sakila@storageAccountName.dfs.core.windows.net/extracts/filmActor")
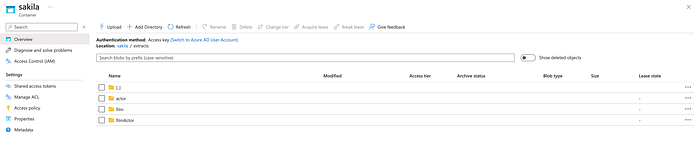
The extracted content from Oracle is available as parquet in Azure Storage.
Transformation
Like we saw in our Java Example earlier, it tries to transform three sources (FILM, ACTOR, and FILM_ACTOR) into a FILMS document, which will have all the actors for a given film embedded.
val actor = spark.read.parquet("abfss://sakila@storageAccountName.dfs.core.windows.net/extracts/actor")
val film = spark.read.parquet("abfss://sakila@storageAccountName.dfs.core.windows.net/extracts/film")
val filmActor = spark.read.parquet("abfss://sakila@storageAccountName.dfs.core.windows.net/extracts/filmActor")

val joinedDf = film
        .withColumnRenamed("LAST_UPDATE", "FILM_LAST_UPDATE")
        .join(filmActor, Seq("FILM_ID"))
        .withColumnRenamed("LAST_UPDATE", "FILM_ACTOR_LAST_UPDATE")
        .join(actor.withColumnRenamed("LAST_UPDATE", "ACTOR_LAST_UPDATE"), Seq("ACTOR_ID"))
        .withColumn("ACTORS", struct(col("ACTOR_ID"), col("FIRST_NAME"), col("LAST_NAME"), col("ACTOR_LAST_UPDATE"), col("FILM_ACTOR_LAST_UPDATE")))
        .drop("ACTOR_ID", "FIRST_NAME", "LAST_NAME", "ACTOR_LAST_UPDATE", "FILM_ACTOR_LAST_UPDATE")


val columnsToGroup = joinedDf.columns.filter(e => !e.equals("ACTORS"))
val filmsWithActorsArray = joinedDf.groupBy(columnsToGroup.head, columnsToGroup.tail : _*).agg(collect_list(col("ACTORS")).alias("ACTORS"))

filmsWithActorsArray.write.parquet("abfss://sakila@storageAccountName.dfs.core.windows.net/transforms/films")
The above code performs a join operation on three data frames and later uses the groupBy and agg functions to have the actors embedded as an array within the film document.
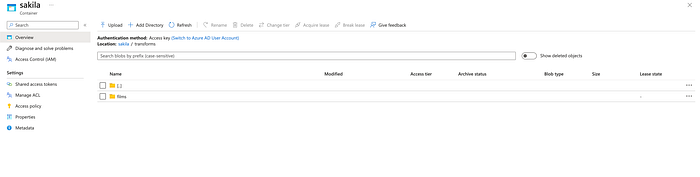
Later the transformed dataframe is written as parquet in Azure Storage
Load
Finally, as part of the load, the transformed dataframe is read from Azure Storage and written into MongoDB.
val films = spark.read.parquet("abfss://sakila@storageAccountName.dfs.core.windows.net/transforms/films")
films.write.format("mongodb")
          .option("spark.mongodb.connection.uri", "mongodb+srv://userName:password@databricks-demo.2jgp5xg.mongodb.net/?retryWrites=true&w=majority")
          .option("spark.mongodb.database", "sakila")
          .option("spark.mongodb.collection", "films")
          .mode("append")
          .save()
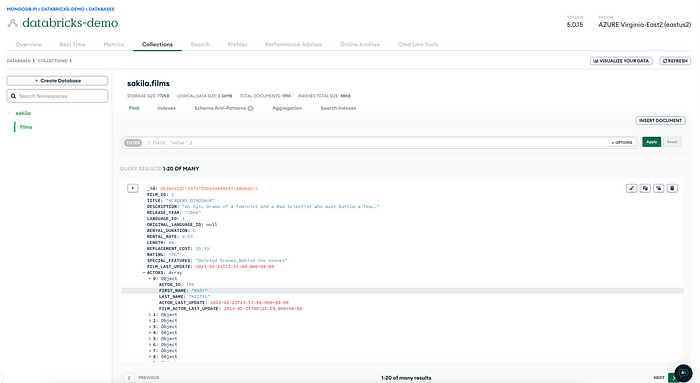
The transformed data is written into MongoDB, as shown below.
Workflow
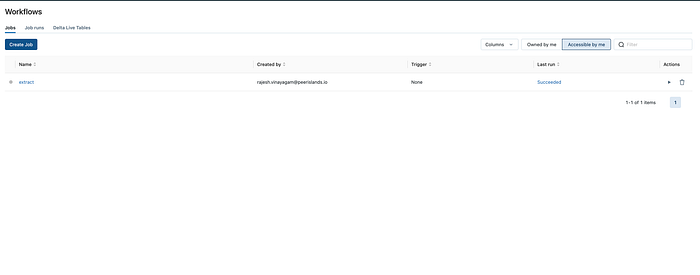
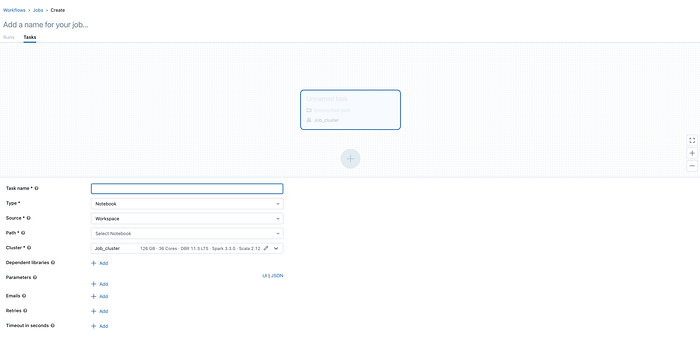
In Databricks, you can create a workflow by chaining together a sequence of notebooks using the Jobs feature. To create a new job, go to the “Jobs” tab in the Databricks workspace and click “Create Job”.
Choose the appropriate job configuration based on your requirements, and then select the notebooks that you want to include in your workflow.
To create a workflow in Databricks, you need to have the below 3 steps followed.
- Create your notebooks: Create separate notebooks for each task in your workflow. Write the code to perform the task in each notebook.
- Define your tasks: Identify the tasks you need to perform as part of your workflow, such as data extraction, cleaning, transformation,loading and validation.
- Task Configuration: Below are some common configuration settings that you may need to consider when setting up a task within a workflow
- Give your task a descriptive name and description that accurately reflects its purpose and scope.
- Choose the appropriate notebook for the task
- Optionally, define any parameters or variables that the task needs to use. This can include variables such as database connection strings, file paths, or data format specifications
- Choose the execution environment for the task, including the cluster size, instance type, and runtime version.
With this knowledge we will now see how to create a Simple ETL workflow.
Simple ETL Workflow
Below is a simple workflow with three tasks. Optionally, we can include data cleansing and data verification tasks.
Here we configure the Cluster and Notebooks that was created earlier for each of these tasks individually.
- Extraction : Configure the extraction notebook and Cluster, to extract data from oracle and write to blob storage as parquet.
- Transformation : Configure the transformation notebook and Cluster to read the extracted parquet from blob storage.Perform the required transformation and write the transformed data back to blob storage as parquet
- Load: Configure the load notebook and Cluster to write the transformed data into MongoDB.

Configure your workflow: Configure your workflow to run on a schedule or in response to an event trigger, such as a data upload or a message from a queue.
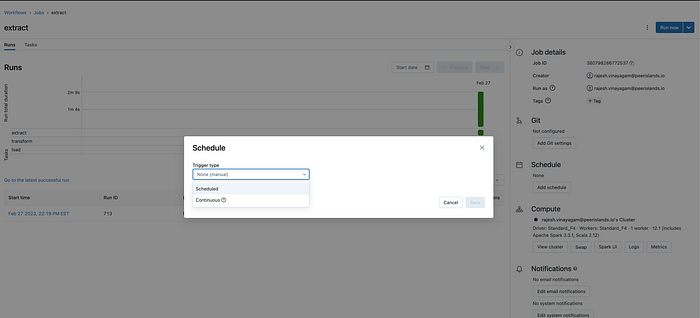
Monitor your workflow: Monitor your workflow execution using Databricks’ built-in monitoring tools, such as the Jobs dashboard or the Runs console. Use the logs and metrics to identify issues and troubleshoot problems in real-time.
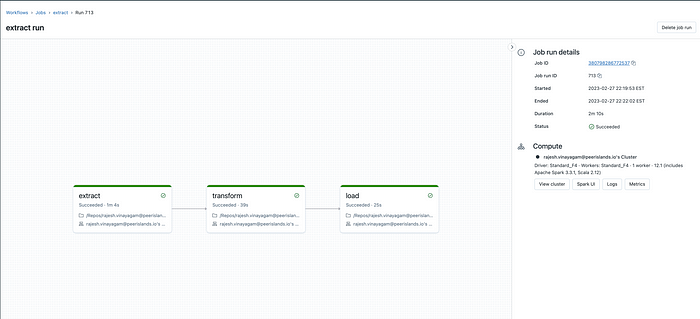
Below is a snapshot of one successful Job Run
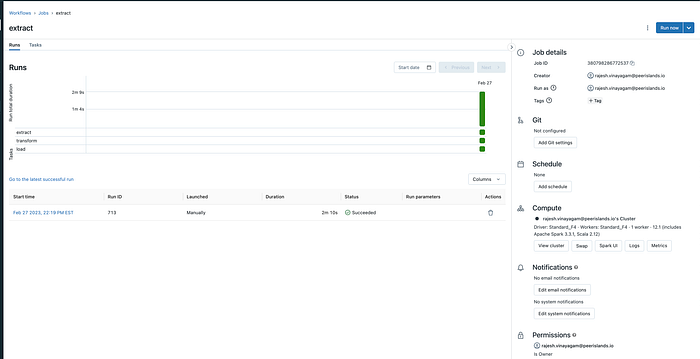
And below is a snapshot of Run Details.
Demo
Conclusion
This article covers the process of setting up a complete data processing using Azure Databricks. The topics covered include creating an Azure Databricks workspace and using Azure Storage as DBFS; starting a Databricks cluster and adding customized libraries like Oracle and MongoDB Spark connectors; creating a Notebook to develop and run code using the built-in editor; and integrating GitHub with Databricks to source control the code. Finally, the article demonstrates how to create a workflow DAG using the Databricks Jobs feature, which allows you to schedule and run complex workflows in a managed and scalable manner.
By following the steps outlined in this article, you can set up a powerful data processing pipeline that leverages the capabilities of Databricks and integrates with other cloud-based services like Azure Storage and GitHub. With its scalable and flexible architecture, Databricks is an ideal platform for handling large-scale data processing tasks and building sophisticated workflows.
Happy Migrations!!!